
Introduction
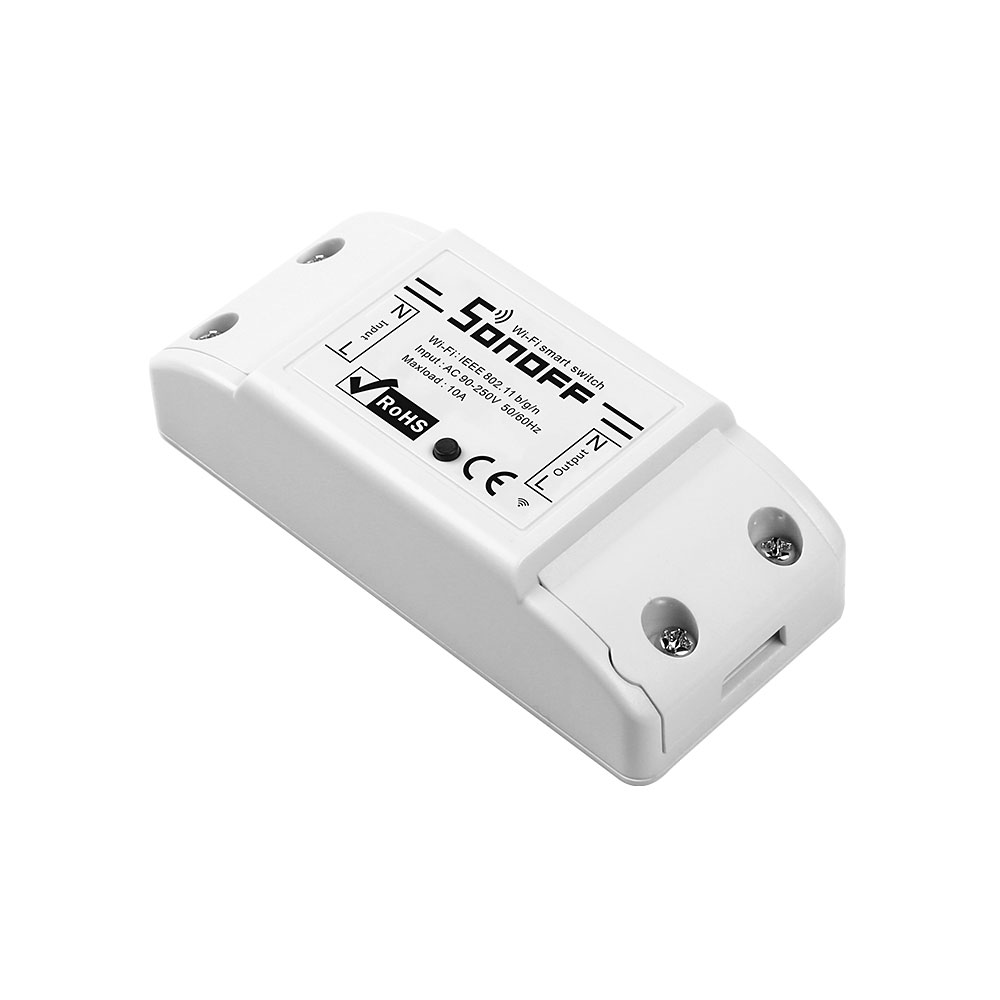
The Sonoff Basic Wi-Fi Smart Switch is an inexpensive wireless smart switch for anyone who wants to remote control and/or automate electric devices around the house or workplace. Unfortunately, it suffers from the same privacy issues as many of the inexpensive consumer grade smart devices, like the one in this article. In addition, the Sonoff Basic only comes with 8Mb (1MB) of flash memory, which makes it even more difficult to use it for development, since this means over-the-air updates are not possible.

In this article I show how I replaced the Sonoff Basic’s original 8Mb (1MB) flash memory with a larger, 32Mb (4MB) one. Once I had more memory available for my programs, I also programmed it with my own firmware. This takes care of not only making it even smarter (over-the-air upgrades, etc), it also gets rid of the closed source 3rd party firmware that came with it.
Disassembly
Taking the Sonoff Basic apart is very easy. Inside we find a single PCB. Both the ESP8266 and the flash memory are easily identifiable on the logic side of the board.

Desoldering/Soldering
To remove the flash memory chip I used a hot air soldering station. Care had to be taken to not melt and desolder any of the surrounding components which are all tiny, SMD components.
To ease the unsoldering then the soldering process I added some extra flux to the board. This helped me to avoid solder bridging.

The trick is to do the whole thing as fast as possible so that nearby components do not have the time to warm up and fall off the circuit (on the other side) or get damaged.
The original flash memory chip Sonoff Basic came with is a Winbond 28Q80 series memory. The replacement I got on eBay is a Winbond 25Q32 series chip, which is a drop-in replacement for the original, but with 4 times more storage for your programs.

Flashing new firmware
On the board, close to the ESP8266 there is a placeholder for a serial header (RX/TX/VCC/GND), which I quickly populated for easy access in the future. To program the ESP8266 chip we also need the GPIO0 line. Since I did not find it readily available anywhere on the board, I looked up in the datasheet which pin of the chip it is Then I used a tiny jumper cable to ground it temporarily to put the device in firmware upload mode at boot time.
After successful programming, the Sonoff Basic booted up with my own firmware, nicely fitting in my own home automation framework.
I also programmed the Sonoff with Tasmota, another open-source firmware for ESP8266 based devices. With Tasmota the device worked fine too. At the end I returned to my own, though.
Conclusion
The whole process took less than half an hour, at the end of which I ended up with an OTA-capable, open-source version of this very nice wifi-controlled power switch, which doesn’t need internet and other parties to work. This can bring several advantages, such as:
- Over the air updates
- The ability to add one’s custom functionality
- Mitigating the privacy concerns of the closed source firmware that came with the device.
The same process can be used on other devices, like the most simple ESP-01 module, to replace the flash memory on board if larger size is needed (when is it not?).
