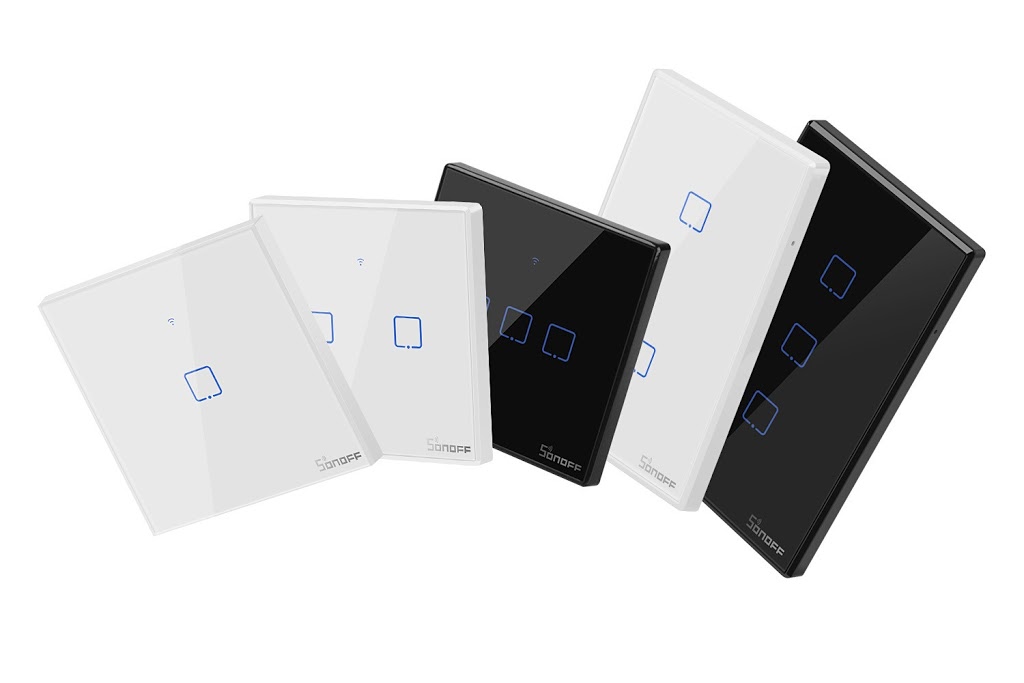
Recently, more and more consumer devices are available to make your home “smarter”. While they can make our lives a bit easier, comfortable, most of these smart devices also give rise to a number of privacy concerns as well as usability/reliability issues:
- The mobile apps (i.e. Ewelink, Smart life, etc) that come with them are closed source, and as such they should not be trusted. (When launched the first time they start by asking for your wifi network’s password, and you can only hope that it doesn’t pass it on to 3rd parties…)
- Internet access is needed for them to operate, and as far as my experience goes in several countries, it is not without interruption.
- Control happens through some servers over which one has no control or authority. This means that if those servers are down for any reason (a scheduled maintenance, the hosting company’s decision to make it a paying service, malicious attack, etc.), then, the best case scenario is you can’t control the switch, a worse case scenario is that someone else does.

This is not a conspiracy theory: even with the best intentions it can happen that your private information, i.e. video/audio feed from your home could get in the wrong hands. And it has already happened. This, of course, doesn’t mean things like this happen all the time, but it could. Any time. With any internet connected device.
In the following, through the altering of a specific smart device, I will demonstrate that it is possible to use these smart devices without 3rd party apps, services, even without the internet. The concepts and processes are similar to any similar smart device, be it a light bulb, a switch, an air conditioner or anything else that uses similar concepts.
A volunteering smart device
Itead’s Sonoff TX Series Wi-Fi Smart Wall Touch Switches are very nice looking inexpensive drop-in replacement for old light switches around your home. They come in different gangs, colors and styles making them a good fit for most homes.
Problem
Even any one of the above reasons would be enough to not use such a product in a home or pretty much anywhere where privacy and security is of concern.
I decided that to use these switches I need to write my own firmware or find a well known/tested open source firmware, so that I know exactly what it does. Since these switches are built around Espressif’s ESP8285 chip, it should be easy enough for me to write my own firmware for it.
The question is this: How will I be able to program the chip? How do I get access to it? To upload or flash my own firmware I need physical access to the chip.
Disassembly
The switches are easily pried open with a small screwdriver.

Inside, the logic PCB with the ESP8285 is immediately revealed, and I quickly found an unsoldered header placeholder for a serial port, including the tx/rx and power lines. To program the ESP8285, however, data line GPIO0 is also needed (this is only needed for programming).

This PCB is sandwiched on top of another one, the power circuit (with high voltage), and is easily removed by gently pulling it apart from it.

On the back of the first PCB there are a number of test points, and luckily one of them (TP2) is also marked as GPIO0. I soldered some thin wires to the test point as well as the header soldering points and connected this contraption to a serial port.
Programming
Programming can be done as usual with any cheap USB-serial converter as long as it is 3.3V compatible.
I actually tried to program it with two different firmware: my own, making it a vNode, and another open source firmware, called Tasmota. Both worked flawlessly for the first try.
To upload my own firmware I used the Platformio/Visual Studio Code combo, to upload Tasmota I used ESP8266Flasher, the NodeMCU Firmware Programmer.
These are the settings in Tasmota:

These are the settings for ESP8266Flasher:

After I confirmed the correct functioning of the switch, I put it all together again. I didn’t remove the small wires for serial connection in case I need it in the future, although it is unlikely, as both Tasmota and my own firmware support on-the-air upgrades. Still, it doesn’t hurt having a tiny serial port hot glued at the back of the device.

Conclusion
After the conversion these switches (I have two of them) are safe (as long as privacy goes) to use and they do not depend on another party, not even the internet. If I ever need to reprogram them, I can to that through my home wifi network, or, if everything else fails, using that tiny serial port I left in the wall! 🙂


Pingback: Convert Tuya Smart Plug for Privacy and Control – Walkthrough – Viktor’s DIY Blog