Are you as baffled as I am about Home Assistant installation? Got a generic Linux system and are not sure where to begin? Well, look no further, as i am setting out here the necessary steps, as i identified them through my recent research.
Home Assistant is one of the best open source home automation systems out there that focuses on privacy. I have been using it for a few months now to make our home smarter and more secure.
There are more than one way of installing Home Assistant. In this article I am going to focus on one of the officially supported ways, which is called the “Home Assistant Supervised” method. It means Home Assistant is installed on the top of a generic Linux system
The aim of this article is to give all the steps needed to get Home Assistant Supervised and some of the most commonly used additional software components working on a generic Linux system. I assume you already have a working Linux box – throughout this article I use the latest version of Xubuntu available at the time of writing, which was 20.04.
Preparation
Enable ssh (optional)
I prefer working on my main (Windows) computer and I tend to use ssh to access the computer Home Assistant will be running on. As Xubuntu doesn’t come with an ssh server built in, I started by installing one. If you prefer working on the actual box, you can skip this step.
sudo apt install -y openssh-serverOnce the ssh server is up and running, you can use an ssh client to access it. I used Microsoft’s relatively new Terminal. Putty and Termius are also good choices.
Update your system
For the installation to succeed it is important to start with a fully updated system. To install the latest updates execute this command:
sudo apt update && sudo apt dist-upgrade -y && sudo apt autoremove -ySet up static (fixed) IP address
To avoid a lot of headaches later, it is a good idea to set up a fixed IP address for the computer running Home Assistant.
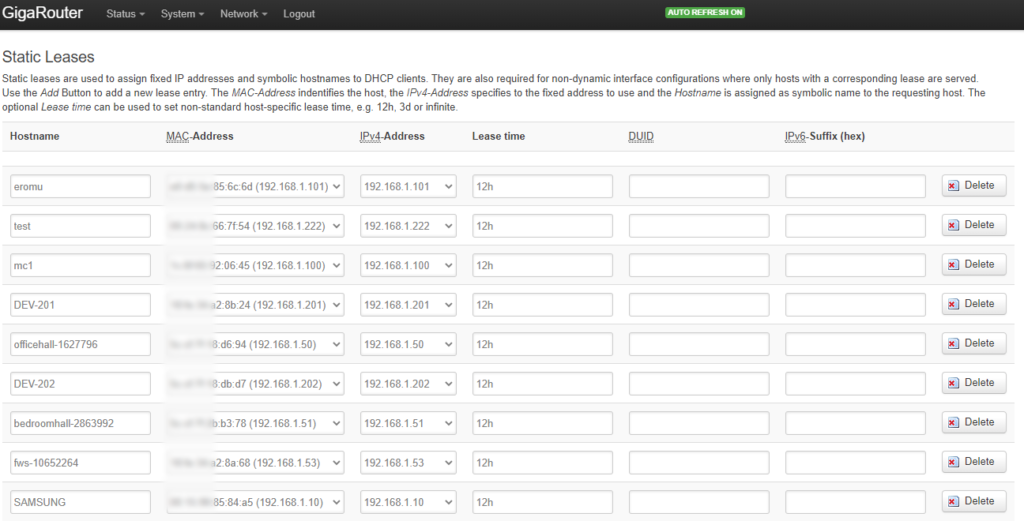
The easiest way of doing it is to set up a specific address for your Linux box in your router. Since each router is different, I can only show you a screenshot of my settings on a router running OpenWRT:
If, for some reason, you want to set up the static IP address on your Linux computer, you need to do the following:
- Check the current network configuration:
nmcli con show
You will get something like this:
- Change the configuration with the following command:
sudo nmcli con mod "Wired connection 1" ipv4.addresses "192.168.1.98/24" ipv4.gateway "192.168.1.2" ipv4.dns "192.168.1.3" ipv4.dns-search "viktak" ipv4.method "manual"
Note #1: Change the parameters (all the values in between the double quotes) to match your own network.
Note #2: The above command must be entered as one line, even if it looks like two lines on this blog. - Reboot the computer:
sudo reboot
After reboot, the computer should be available for ssh connection on the new address you provided.
Install Samba
Since I work much more comfortably from/in a Windows environment, I also set up a share on the Linux computer so that any configuration and/or data files used by the home automation can be easily accessed from my main Windows computer. This allows me to work with Visual Studio Code on the configuration files, and also to make backups of them.
To set up a samba share (Windows compatible) on Linux, issue the following commands:
sudo apt-get install -y samba samba-common-bin
sudo nano /etc/samba/smb.conf
Add the following bit to the end of smb.conf:
[dev]
comment = Development home
path=/home/dev
writeable = yes
browseable = yes
only guest = no
create mask = 0777
directory mask = 0777
public = no
Save the file, and close it.
Add a password for user dev:
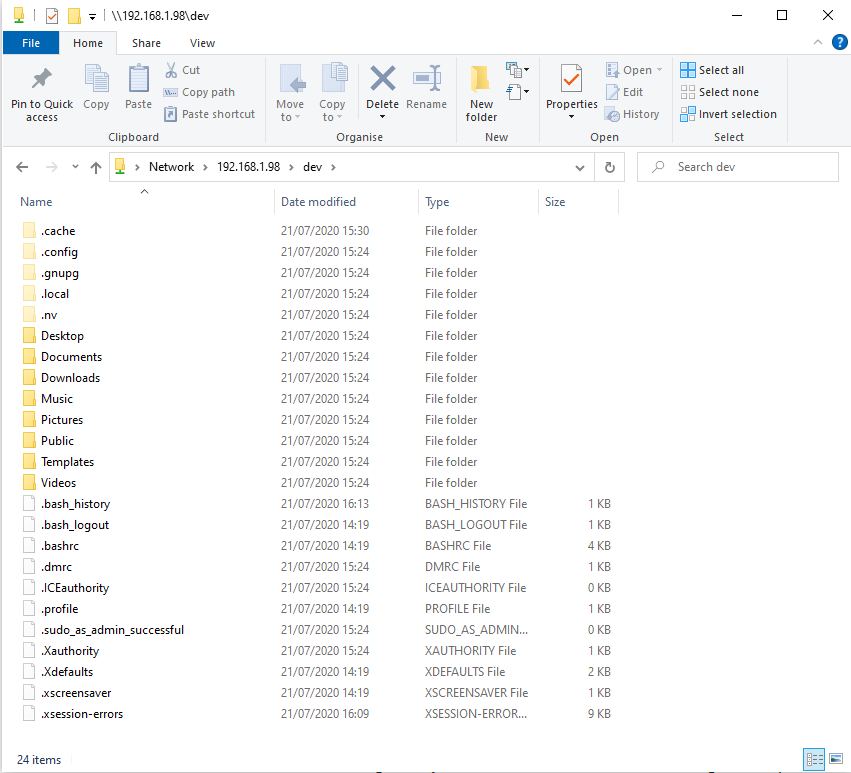
sudo smbpasswd -a devAfter the reboot (sudo reboot), you can access the home directory of user dev on the Lilux machine from Windows:
Install docker
This install method (of Home Assistant) relies heavily on Docker to compartmentalize the components as much as possible. With the “supervised” installation of Home Assistant you cannot go fully compartmentalized, but it is going that direction.
To prepare for Docker, just follow the following commands one after the other:
sudo apt-get install -y apt-transport-https ca-certificates curl gnupg-agent software-properties-common apparmor-utils avahi-daemon dbus jq network-manager socat
sudo systemctl disable ModemManager
sudo systemctl stop ModemManager
sudo apt-get remove -y modemmanager
One-command installation of Docker:
sudo curl -fsSL get.docker.com | sudo shIf it does not work or you want to have more control over what is going on, you can follow these steps instead:
curl -fsSL https://download.docker.com/linux/ubuntu/gpg | sudo apt-key add -
sudo apt-key fingerprint 0EBFCD88
sudo add-apt-repository "deb [arch=amd64] https://download.docker.com/linux/ubuntu $(lsb_release -cs) stable"
sudo apt-get update
sudo apt-get install docker-ce docker-ce-cli containerd.io
Either way, at this stage you should have Docker installed. To test it, use this command:
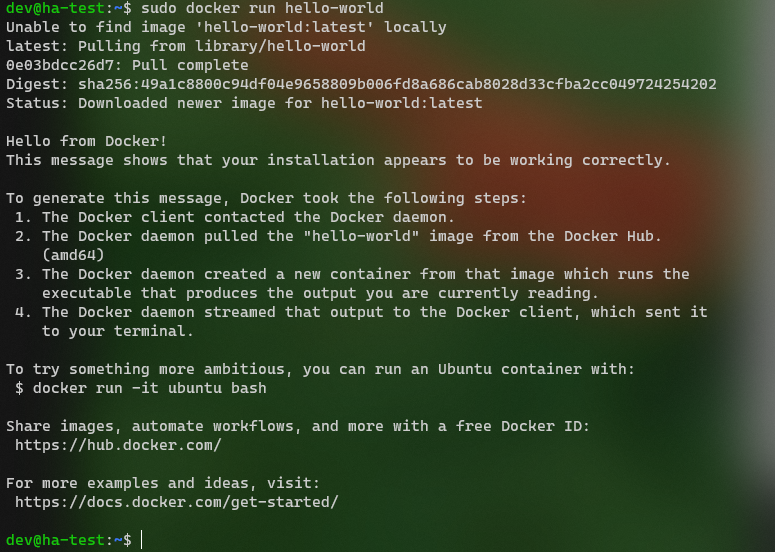
sudo docker run hello-worldThis installs and starts the Hello world! example of the Docker world. If the installation went smoothly, you should see something like this:
Finally, we are ready to start installing Home Assistant and its friends! 🙂
Install Home Assistant Supervised
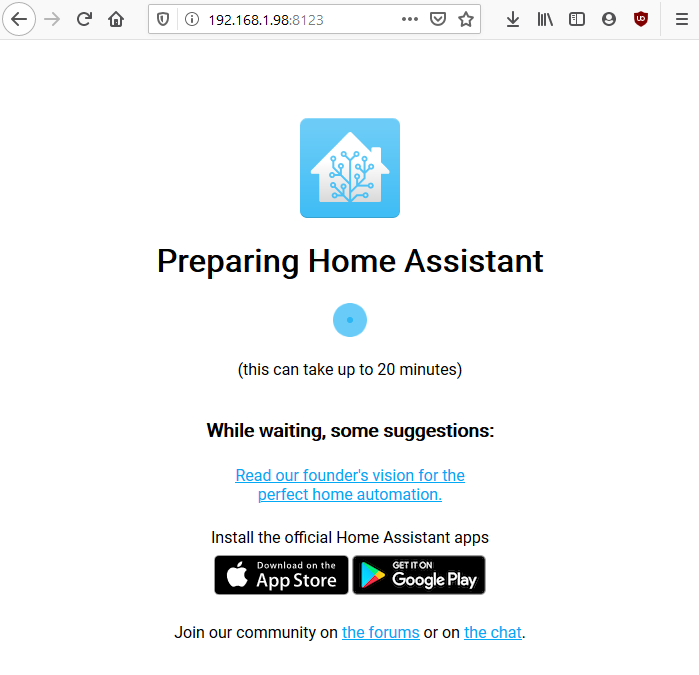
sudo curl -sL "https://raw.githubusercontent.com/Kanga-Who/home-assistant/master/supervised-installer.sh" | sudo bash -sThe process will take some time, depending on your hardware and your internet bandwidth. Soon after, however, you can access your new Home Assistant installation from a browser anywhere on your local network, just enter http://192.168.1.98:8123 into your browser’s address field. Obviously, you need to change the IP address to match your own setup. Remember, when you set up a static IP address for your Linux box earlier?
During the installation it will show something like this:
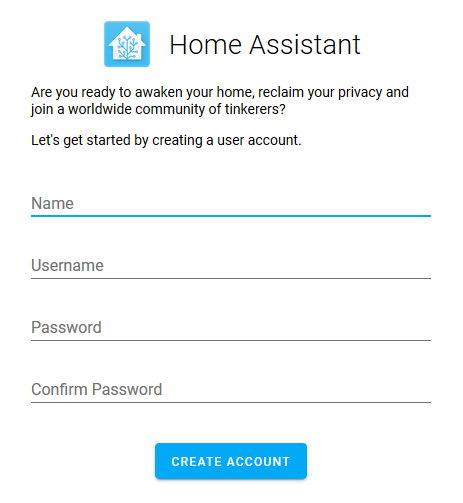
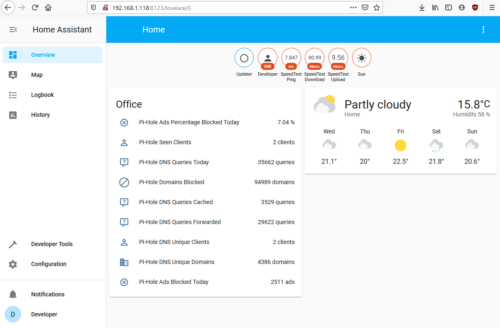
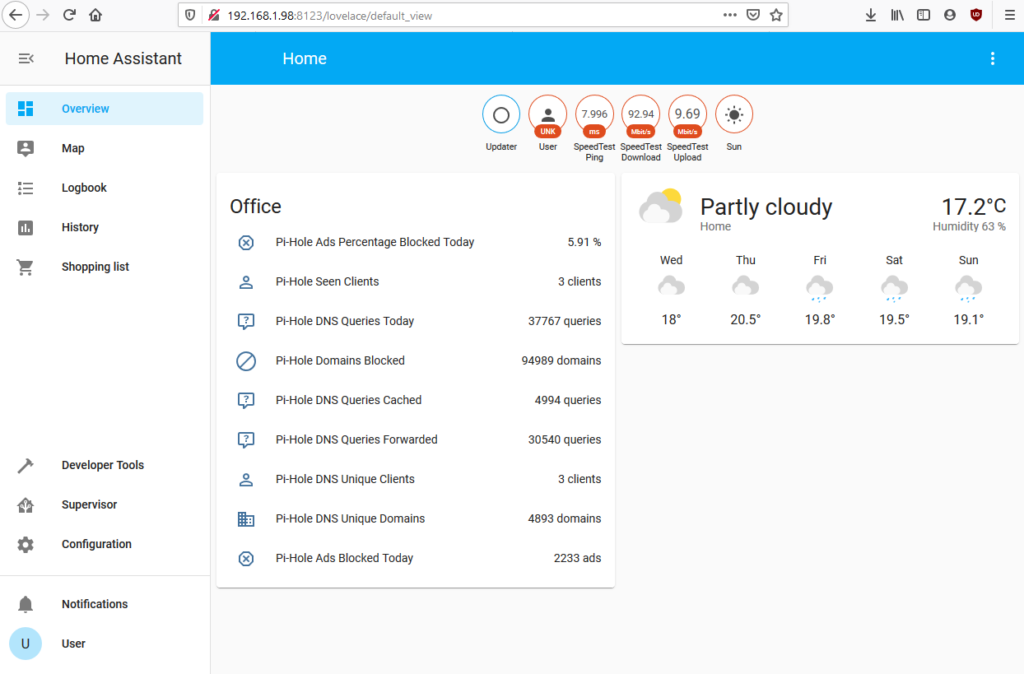
Once the installation finishes, it will move on to the page, where you can start start customizing Home Assistant:
It is beyond the scope of this article to dive further into customizing Home Assistant. So……….
………. You have just successfully installed Home Assistant! You can go on and install plugins, themes, etc to customize it yo your needs. Congratulations!
But wait, there’s more! 🙂
Home Assistant Supervised stores its data and configuration files in /usr/share/hassio/homeassistant. In order to have easy access (from a Windows system) to those, you can create a share with the same method we used earlier.
Edit the file /etc/samba/smb.conf:
sudo nano /etc/samba/smb.confAdd the following bit to the end:
[home-assistant]
comment = Home Assistant
path=/usr/share/hassio/homeassistant
writeable = yes
browseable = yes
only guest = no
create mask = 0777
directory mask = 0777
public = no
Save the file, and close it.
Finally, we need write permission on the content of that directory. Since I am not a Linux expert, I wasn’t sure how to do it properly, so I simply took ownership of that directory using this command (make sure to replace dev with the username you have used so far):
sudo chown -R dev:root /usr/share/hassio/homeassistantIf you know a better way of doing it, please let me know in the comments and I will update this section. This has been working for me well so far without issues.
In case you want to revert, just issue this command:
sudo chown -R root:root /usr/share/hassio/homeassistantThen restart the computer: sudo reboot.
Now you can edit the configuration files directly from Windows.
Setting up Microsoft Visual Studio Code for editing Home Assistant configuration
Here, again, I assume you have a fully working, fully updated installation of Visual Studio Code. If this is not the case, first install it from its official web site, then resume here.
Furthermore, I assume you have a working Home Assistant installation, similar to what I described above.
To set up Visual Studio Code for working with Home Assistant follow these steps:
- Open Visual Studio Code
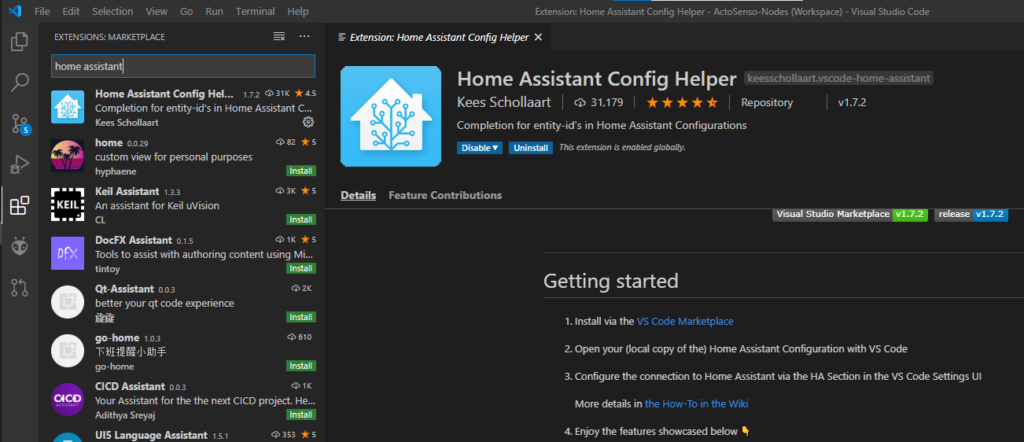
- In Extension Manager (Ctrl-Shift-X) search for and install
Home Assistant Config Helper
- In Explorer (Ctrl-Shift-E) click Open folder, then navigate to and open the network share you created earlier.
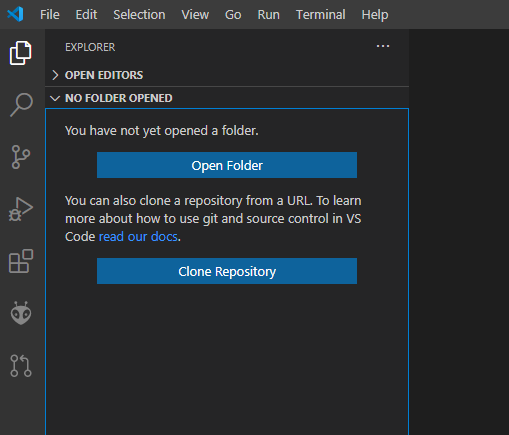
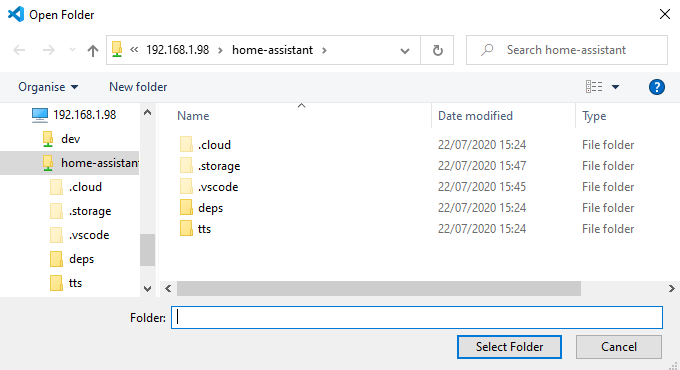
- In the bottom corner you will get a notification that reminds you to configure Home Assistant. Click on Go to Settings:

- In Settings filter for
home assistant:
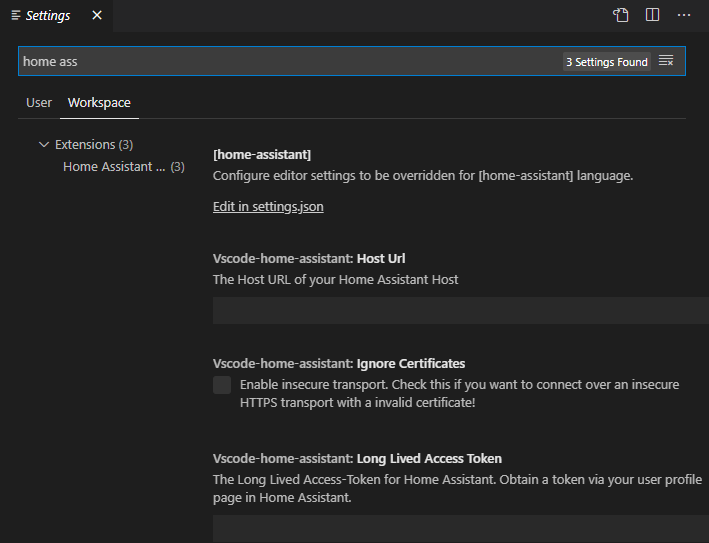
- Now move over to Home Assistant and go to the bottom of the User page to the
Long-Lived Access Tones:

- Click Create token.
- Give it a name. I named mine
VS Code. The name doesn’t matter, it can be anything you like. Then press OK.
Now your long-lived access token is generated and displayed for the first and the last time. You don’t really need to make a backup of it as you can always generate a new one. However, once you feed this token in to Visual Studio Code, you won’t have to do it again.
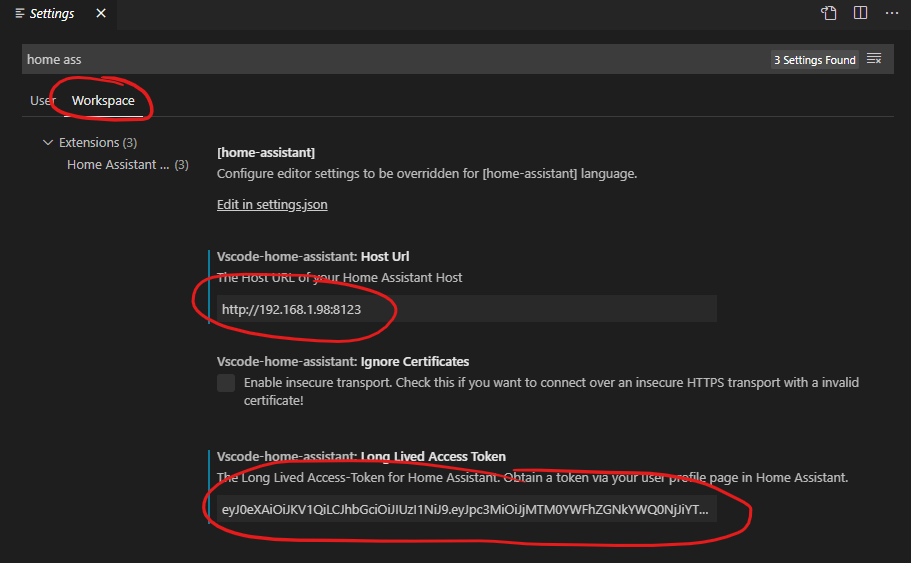
- Finally, save your new workspace for future use.
From now on, any time you wish to work on your Home Automation configuration, you just launch Visual Studio Code, open the workspace you just saved and you are ready to go.


A whole day i was strugling with getting Debian on a cheap HP T620 thin client for using Home assistant with it.
Next day i found Linux Mint Cinnamon, installed it without any problems, found this website and your wonderfull explanation, and within an hour i had Home Assistant running.
Thank you so much!
With the Supervised install have you tried to add USB devices or drives? I’m looking to include external storage for the Frigate NVR without using a NAS but I can’t seem to find documentation or tutorials anywhere. Any suggestions?
You need to install the USB drive (or any other device) on the host system BEFORE you install HA. That way HA will pick up (almost) any hardware you throw at it. At least for me it worked. As long as your disk is available at a path like ‘/dev/sda’ in the host OS, HA should recognize it and use it without any further hassle.