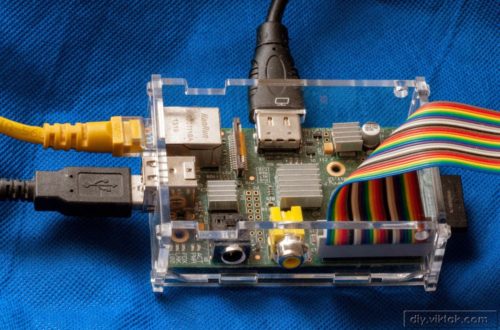
I have been playing around the the Raspberry Pi for a while now, doing basic projects to get the hang of it. These projects have been very simple so far, not even worth blogging about them, but I found myself recreating the same (or very similar) environment on the RPi every time I started a new project. The reason I start from scratch every time is to learn all the special settings/setups a specific project requires.
I, however, found, that I can’t remember ever step and I keep researching the same thing on the internet over and over again. So I decided to create this article to serve me (and possible other beginners) as a collection of setups steps for different kinds of projects. This article may grow in the future as I progress, so I expect it to contain some advanced stuff as well later on.
I always start with the latest Raspbian (Debian Wheezy) image found at the RPi downloads page.
For the very first steps, until the SSH connection is established from my desktop PC to the RPi, I use a rig I created from a broken laptop and a small wireless keyboard.
Let’s see the steps now:
Stuff to set up in raspi-config
After the first time the RPi boots up:
sudo raspi-configActions:
- Expand Filesystem
- Change User Password
- Internationalization Options
- Change Locale (if you’re not happy with the default one. I usually leave this as it is.)
- Change Timezone
- Change Keyboard layout (if you’re not happy with the default one. I usually leave this as it is.)
- Advanced Options
- Hostname: I tend to use the same one at the beginning. When it becomes a full blown, permanent device, then I come back here and I give it a specific name.
- Memory split: Since I normally use a headless system, i.e. no graphical desktop is used, I assign as little to the GPU as possible. I usually go with 16 – the smallest recommended setting.
- SSH: Enable
Reboot.
At this stage, the RPi starts with DHCP on, so it will take an IP address from the local DHCP server. There are a few ways of finding out what IP address it took. If you have a monitor connected to the RPi, you can simply read the new IP address from it. It says something like this:
My IP address is 192.168.1.123If you have a headless system, then you may need to go to the DHCP server and see the connected devices’ list. Or you can use a network discovery app, like Fing to show you all the properties of all the connected devices.
Setting up a static IP address on the Raspberry Pi
Once connected to the RPI using SSH, using the following command you need to edit the file /etc/network/interfaces:
sudo nano /etc/network/interfacesChange the lines related to the network interface you are using (eth0 or wlan0, usually) to something like this:
iface eth0 inet static
address 192.168.1.30
mask 255.255.255.0
gateway 192.168.1.1
broadcast 192.168.1.255
On Debian Jessie you need to edit the file /etc/dhcpcd.conf instead:
sudo nano /etc/dhcpcd.confAt the end of the file enter something like this:
interface eth0
static ip_address=192.168.1.30/24
static routers=192.168.1.1
static domain_name_servers=192.168.1.1
Reboot.
Once the system is up and running again, it will use the new, static IP address.
Sharing a directory on the Raspberry Pi with Windows computers on the same network
Once I finish working on a project at the end of the day, I create a backup of my work. To do that I need access to my project files on the RPi from my desktop PC. This is how to set it up:
Install samba parts:
sudo apt-get install samba
sudo apt-get install samba-common-bin
Modify /etc/samba/smb.conf:
sudo nano /etc/samba/smb.confChange the following areas:
# Change this to the workgroup/NT-domain name your Samba server will part of
   workgroup = SPITI
In the Share definitions section:
[pi]
comment = Raspberry Pi Development home
path=/home/pi
writeable = yes
browseable = yes
only guest = no
create mask = 0777
directory mask = 0777
public = no
Restart the Samba service:
service samba restartFinally, create samba password for the user “pi”:
smbpasswd -a piDone!


