Introduction
In the past few weeks I have neglected this blog a little bit. With a good reason, though: I had the privilege to travel a bit in Indonesia.
I could write a book about my experiences on this trip, but it would be off topic on this blog. However, there is an aspect of my trip that fits in with this blog’s theme: DIY.
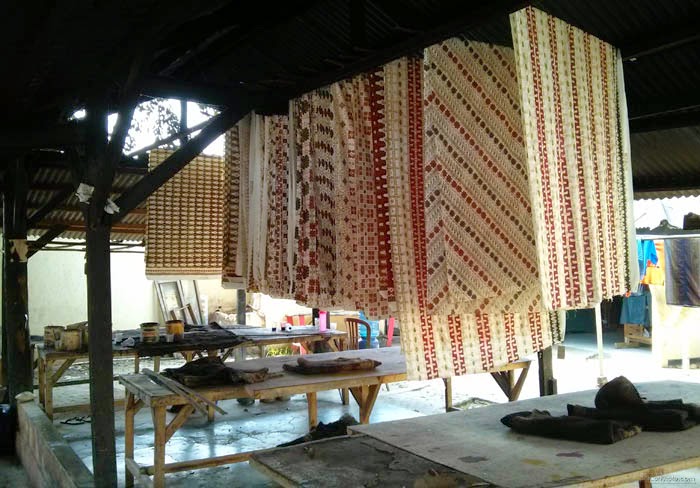
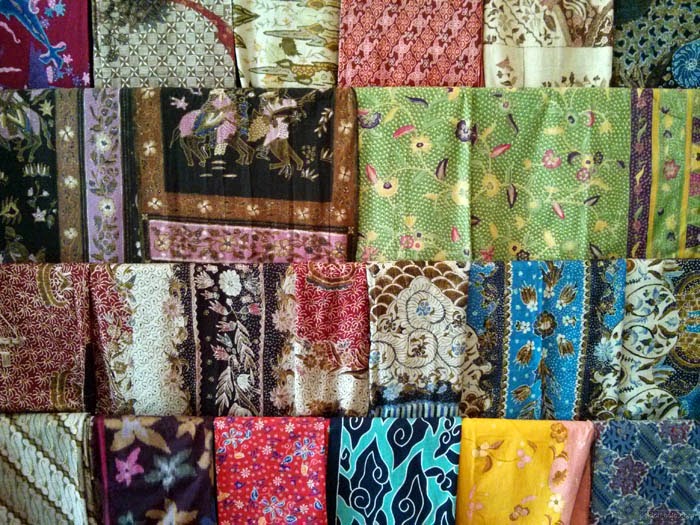 |
| Some of the ready batik sheets for sale in a shop in the Banten area |
There is a plethora of interesting forms of traditional arts and crafts in Indonesia. Of the many, I fell in love with a fabric dyeing technique (and the resulting clothes), called batik. Looking it up on the internet reveals that some call the method batik, others the resulting dyed fabric. I don’t really know which one is correct (probably both) and I tend to use the word “batik” for both.
I am not an expert in making batik, nor on any aspects of it. I merely enjoyed my encounter with the countless styles and colours used in some parts of Indonesia and decided to record my experiences with it.
What I learnt about batik mostly come from locals, who are involved in making batik for a living: I have spoken to several people of different disciplines, like designers, dyers, people, who draw the design on the fabric, workshop owners, and many others.
Batik in a nutshell
Batik is an exclusion-dye technique used to give fabrics (and the clothes made of them, eventually) interesting, colourful patterns.
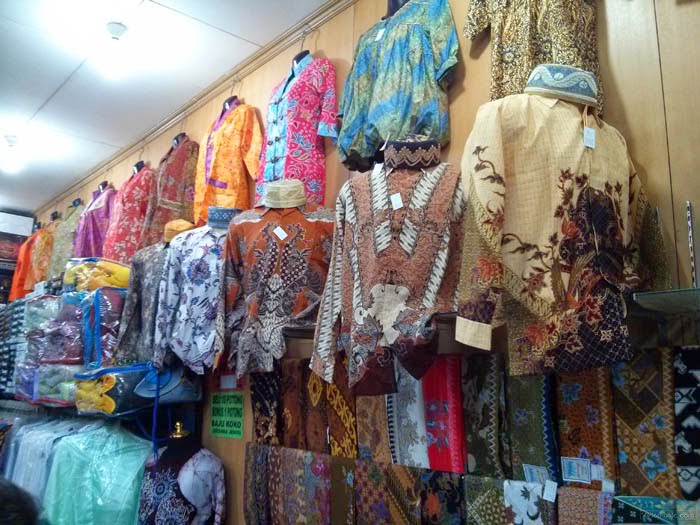 |
| Batik shirts in one of the million similar shops |
I remember, when I was a schoolboy, we made batik “art” at school by tying some small stones with a string in a piece of fabric then putting the “assembly” in a solution. The result was that in the places where the string was tied the fabric remained white and everywhere else the fabric got the colour of the dye used. The results were something like the ones here, although much simpler.
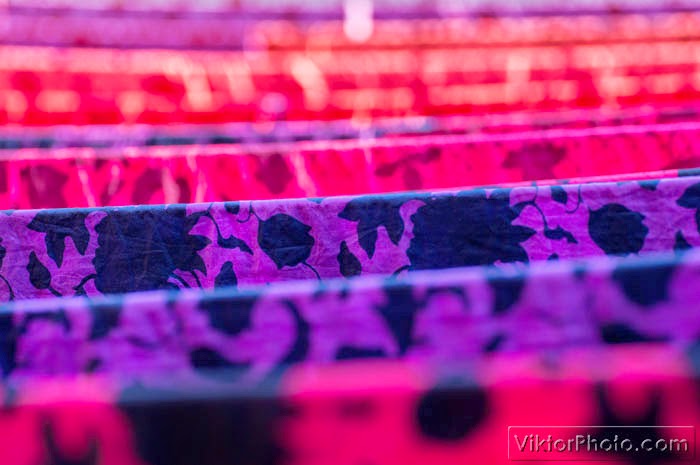 |
| Colourful batik drying in the yard of a batik workshop |
In Indonesia I learnt about another kind of batik technique where a wax solution is applied to the fabric instead of creating knots. Where the fabric is covered by wax it stays white, the rest gets the colour. This method allows using several colours on the same piece of fabric as well as creating much more elaborate designs.
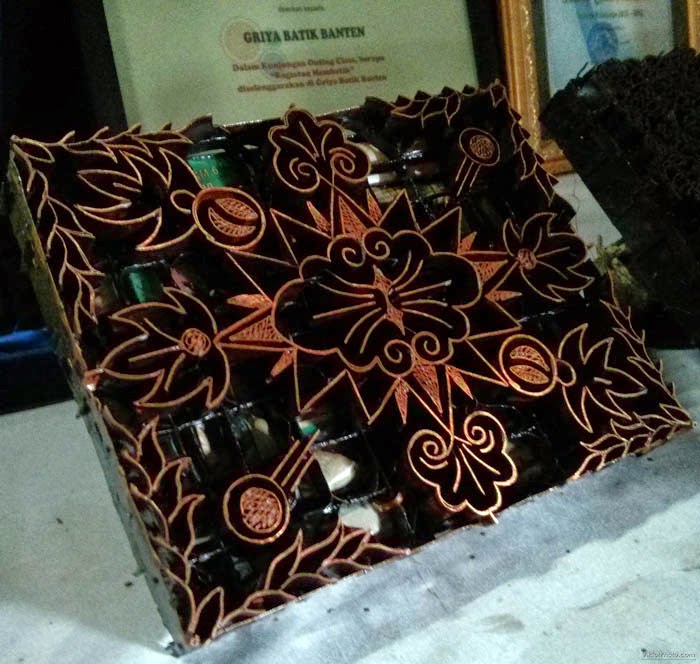
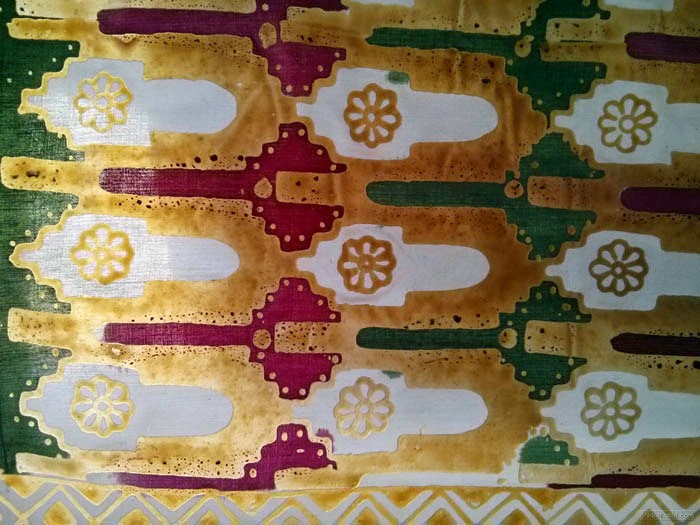.jpg) |
This batik already has two colours: red and green. The golden bits are the wax covered parts, ready to dye the next colour.
The more colour the final product has the more labour it requires and more expensive it is. |
Materials
There are several fabric types that are suitable for batik (i.e. cotton, silk,
muslin,
percale, even synthetic materials, such as artificial silk or viscose). As I have found out, the material of the final product (shirt, dress, etc.) doesn’t affect the price much, as the process is sooooo labour intensive…
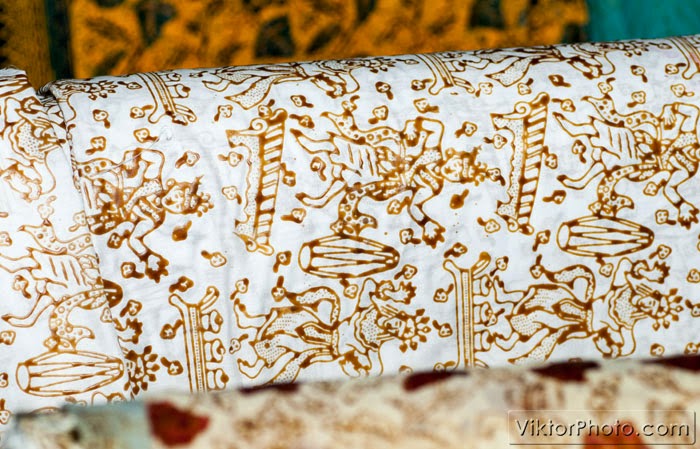 |
| Hand drawn batik waiting for the first round of dyeing |
Dyes
Both natural and artificial dyes are used to dye the fabric. Natural dyes are made of the “juice” of various plants, insects and minerals. Fabrics dyed with natural dyes have a somewhat muted colour. They also run, so washing them is a pain… Artificial dyes, on the other hand, produce much more vivid colours, don’t run, and easier to produce them in large quantities. Also, synthetic dyes are probably the ones most westerners can put their hands on should they feel adventurous enough to try making batik at home. I certainly will, and will post my results on this blog!
The batik process I witnessed and mastered (just kidding!)
First the sheet material is washed to get rid of any dirt, contamination in as well as to avoid future shrinking.
Once the fabric is dry, the pattern is drawn on it with a pencil. This pattern helps the person applying the wax to stick to the design.
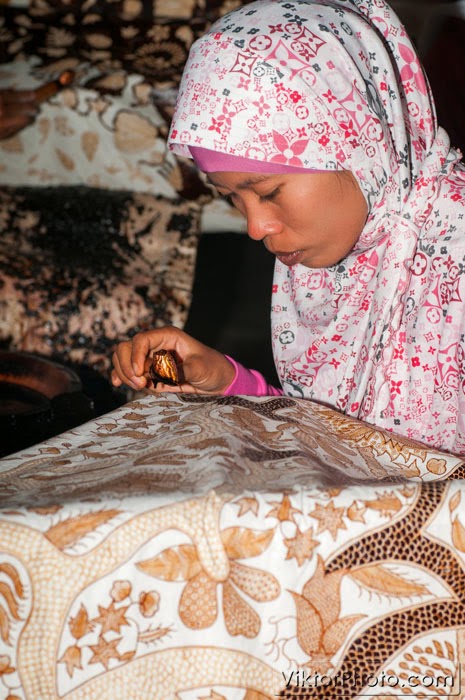 |
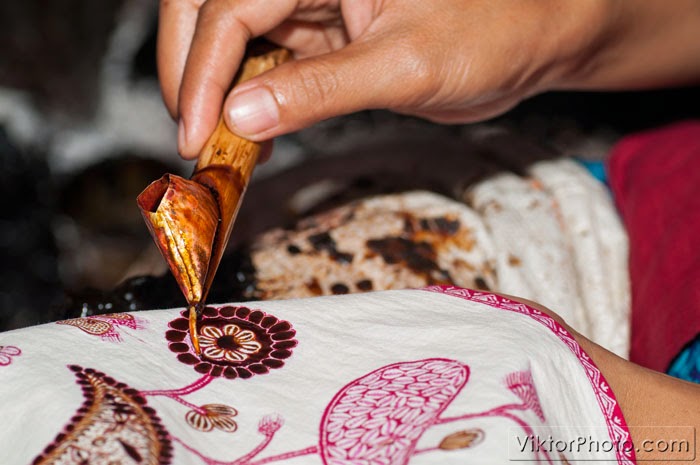
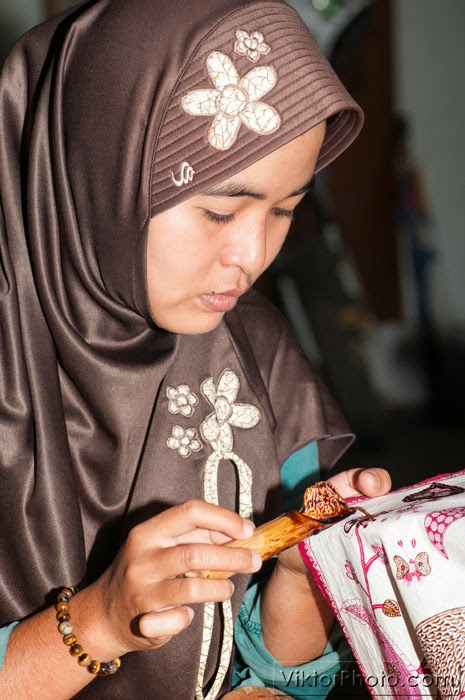
| Lady applying wax using canting – Cirebon |
Next the wax is applied on the fabric. There are several techniques for this:
- The traditional way is to apply the wax using a basic, pen-like tool, called canting. This tool has a small tank for the liquid (and hot) wax. Care must be taken, as I learnt it, because if the wax is too hot, it runs, drops (i.e. messes up the fabric), if it is too cold, it gets stuck in the nozzle of the canting. This method allows for the most elaborate designs, but also takes a very-very long time.
- A faster way of applying was on the fabric is using some special, hand made copper stamps. Creating such a stamp takes many days, weeks, but once it’s done, it can be used several hundreds of times to “print” the pattern on the fabric. This method is a lot faster than hand drawing, but the patterns achieved created by them are not as elaborate as using the canting. This method is used for creating repetitive patterns.
- Mass productions is also possible, where all the steps are carried out my machines.
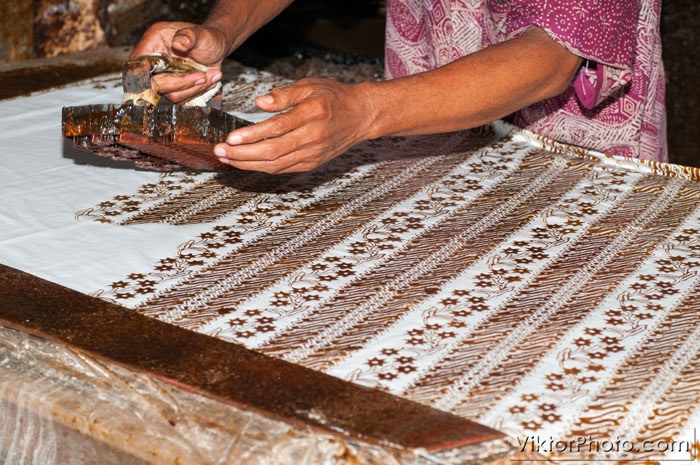 |
| The repetitive pattern being “stamped” on the fabric. |
Once the wax is applied and hardened on the fabric, it is immersed in a solution which contains the dye.
.jpg) |
| Similar baths are used for dyeing and for rinsing the fabric. |
After dying the fabric is momentarily placed into hot water to get rid of the wax. The wax retrieved this way gets recycled and used again.
If more than one colour are required for the design, then all of the above process is repeated for each colour.
For an experienced professional, depending on the design and methods used, creating a single sheet of batik can take several months!
How do I know all this?
When I first saw hand made batik (or
batik tulis), I liked the colours, the patterns and the overall quality of it. I couldn’t, however, appreciate all the labour that was put into making it. As I spent more and more time in Indonesia I have gradually become aware of the effort put into every sheet of batik. Every time I saw a new style of batik, a new workshop, a museum, I had new epiphanies about it. At the end I decided to try my hands and on one of the last days of my trip I signed up for a basic batik workshop at the
Textile Museum of Jakarta.
The day of my visit I was the only visitor and I was a bit afraid they wouldn’t “fire up the thing” for me. False alarm! The moment I arrived several helper personnel appeared and prepared the environment for me.
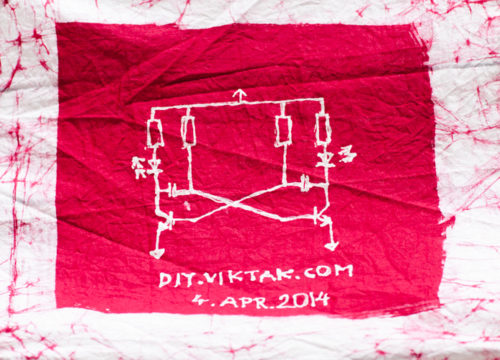
First I had to pick a design from the several pre-made designs on paper they had on file. Instead of using a traditional design, I made my own one:
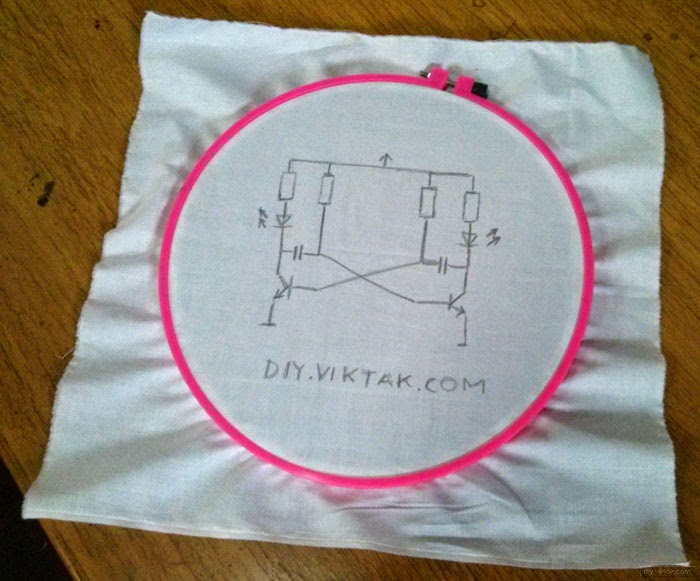 |
| At the time I didn’t know I would write about it on this blog! |
They had no idea what it was and at the end I was asked to leave it there as a fine addition to their library of designs, some other people might use it in the future. I obliged 🙂 but I doubt anyone will ever use it. If you ever make it there and use my design, send me a photo of it with you and I will send you a gift!
Next, the design was copied to the fabric, a piece of cotton, about 35 cm*35 cm in size using a pencil over a light box.
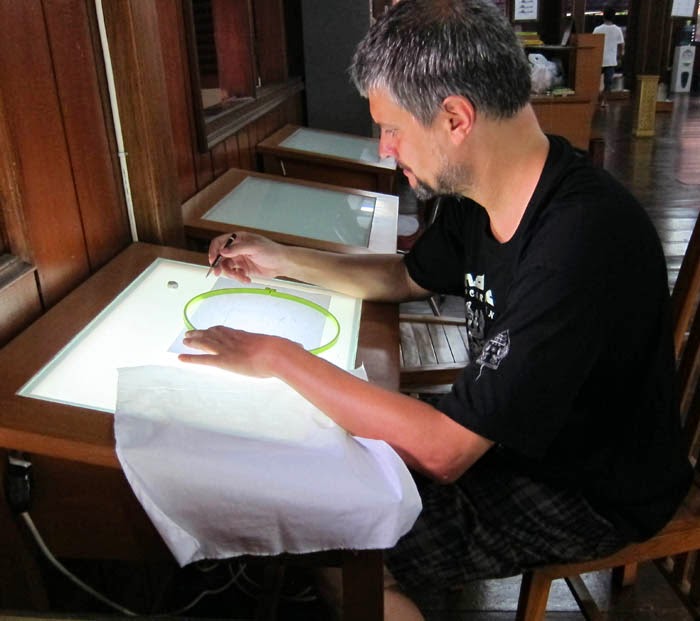 |
The “artist” in the creative process…
Photograph (c) Uncle George |
|
For the wax-action a circular frame was also provided to the rookie (me) to help keep the cloth straight. I was given detailed instructions as to how to scoop the wax from the melting pot, how to hold the canting, etc.
Then I dived in.
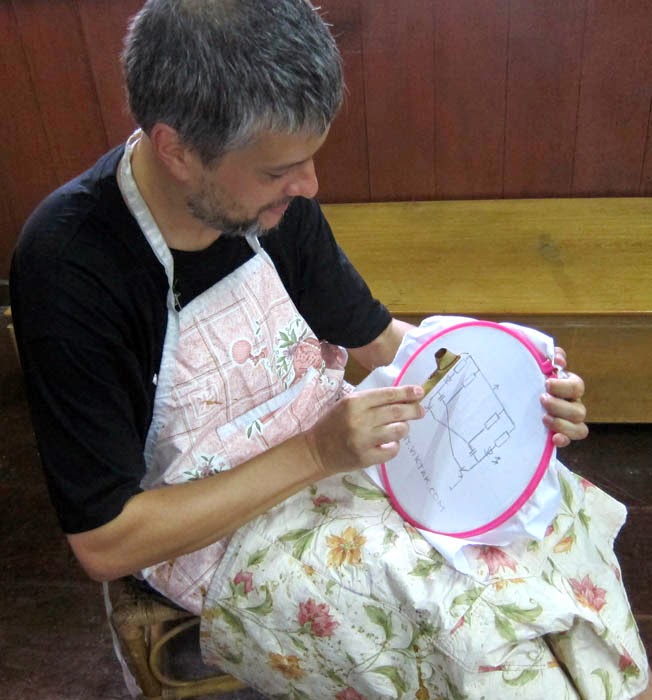 |
Using the canting was a challenge on its own.
Photograph (c) Uncle George |
Well, It wasn’t as easy as you’d think judging from the videos of those ladies in the workshops. In theory, it’s a very simple process, but it is sooo easy to make a mistake. As I progressed, I got a bit better at it, but… I have a new found respect for people making a living on doing this. For me it took about an hour to draw the pattern and I only made a couple of visible mistakes (apart from the fact that I can’t draw a straight line with hand).
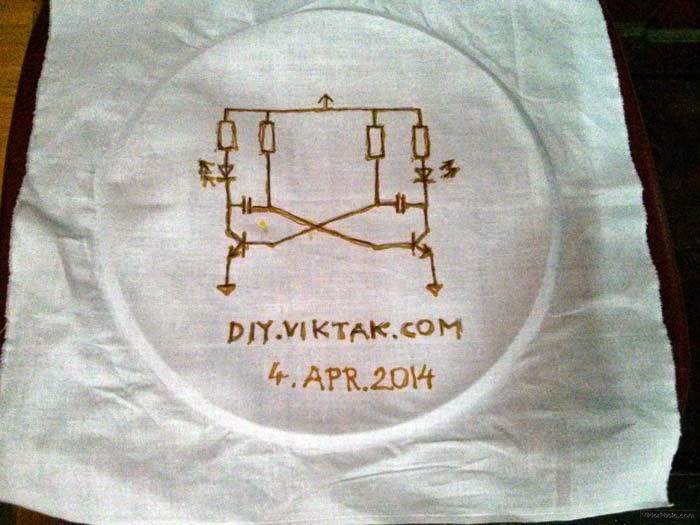 |
| Wax applied to one side of the fabric |
When I thought the difficult part was over, I was told I need to flip the fabric, and do it again on the reverse side! Now, this was not as much fun as it one might think: With a single load of wax I was able to draw only a few centimetres of line, but after one side was finished, I couldn’t see what parts of the second side had already been covered.
Before moving on to dyeing, I used a thick brush to smear some wax around the edges to give the fabric a more interesting look at the end. Once the wax settled around the border I simply wrinkled it with my hand so that cracks appeared in the wax at the border.
 |
The first chemical produced a weird yellow colour – They promised red!
Photograph (c) Uncle George |
|
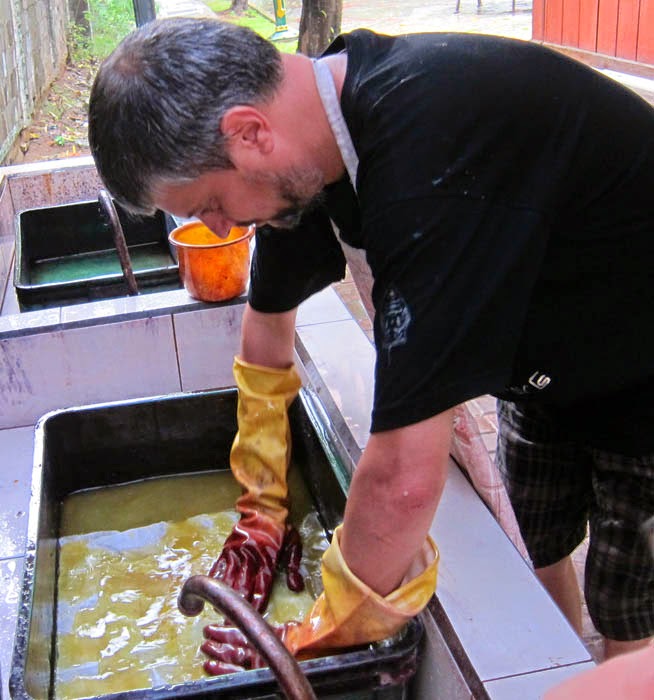
Dyeing the fabric was relatively simple: I immersed the fabric in two different solutions, then water (to rinse), each for a few seconds. To achieve a nicer, deeper colour, I repeated the process 3 times.
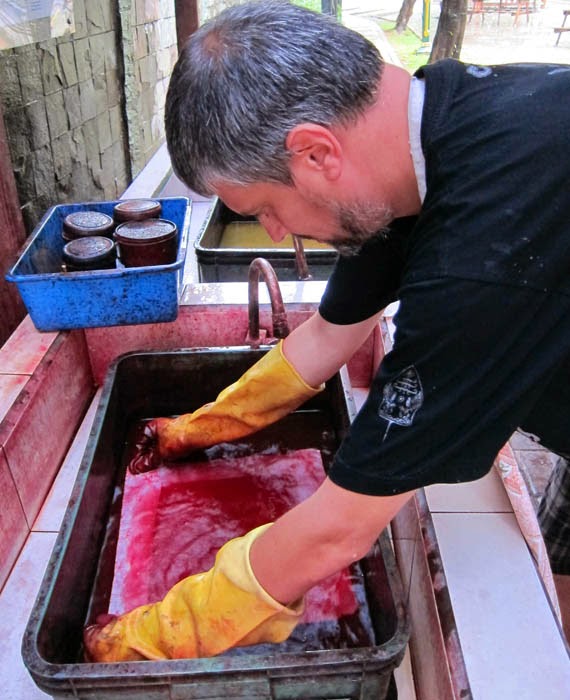 |
The second solution definitely brought the colour closer to what I was promised.
Photograph (c) Uncle George |
|
Once I got the colour I wanted, I only had to remove the wax from the fabric. To do this I put the cloth in hot water for a few seconds using a pair of metallic tweezers.
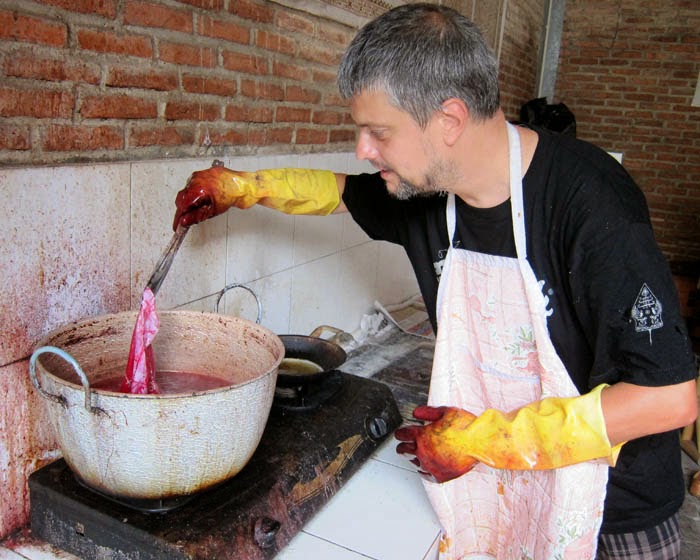 |
“Cooking” the wax out of the fabric. It only took a few seconds.
Photograph (c) Uncle George |
|
Finally I put it in some cold water to cool it down. I also washed it one more time once I got home, just in case.
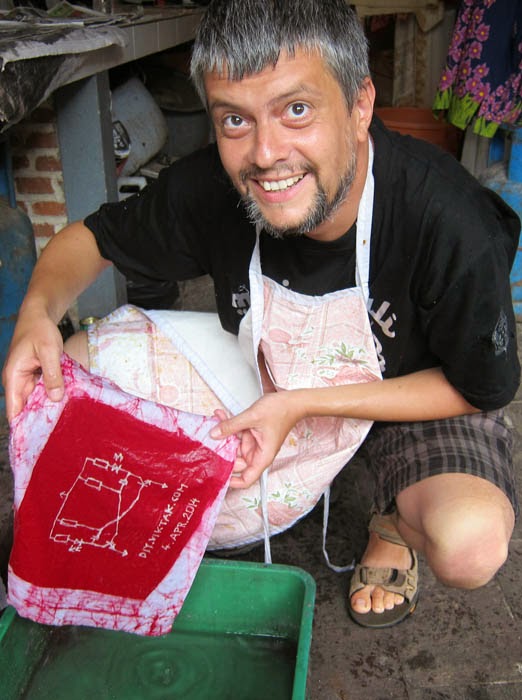 |
The proud “maker”!
Photograph (c) Uncle George |
 |
| The result |
More images…
 |
| The thinner the canting the more elaborate the design |
 |
| It’s a game of patience… |
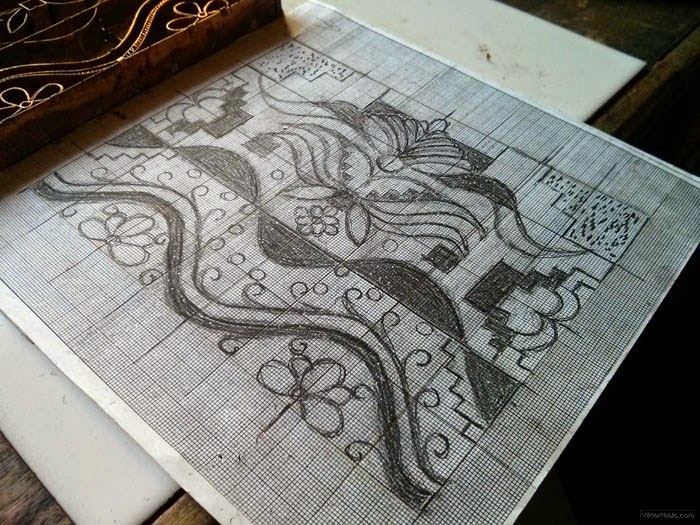 |
| For stamped batik, the designer first creates the design on a piece of paper. |
 |
| Another profession is to make the stamp from the design, using only basic materials and tools, i.e. folding sheets of copper with a single pair of pliers. |
 |
| A stamp finished. Takes a couple of weeks for one craftsman to make it. |
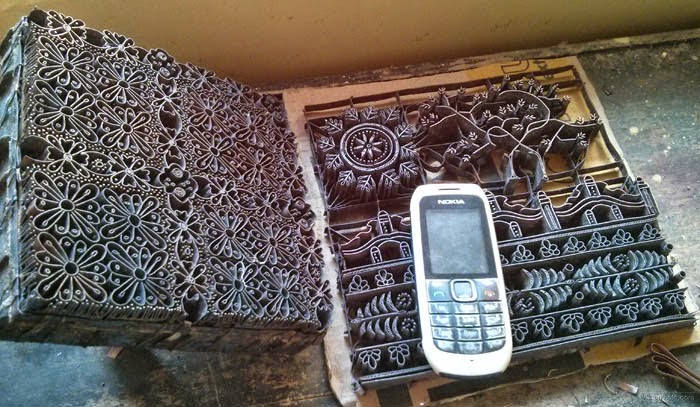 |
| Most stamps I have seen are about the shape and the size of a bathroom tile. |
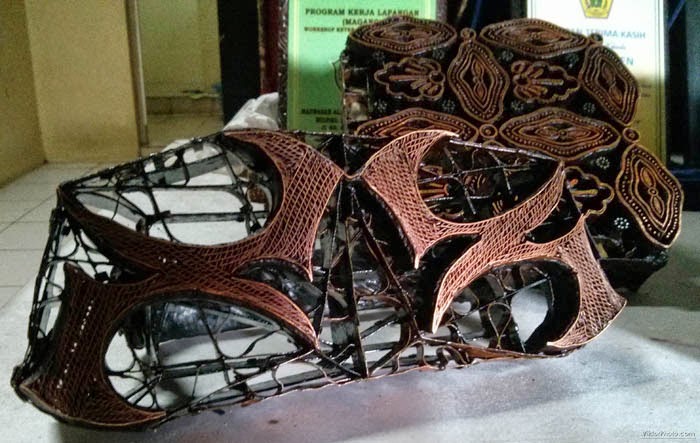 |
| Of course, there are exceptions, too. |
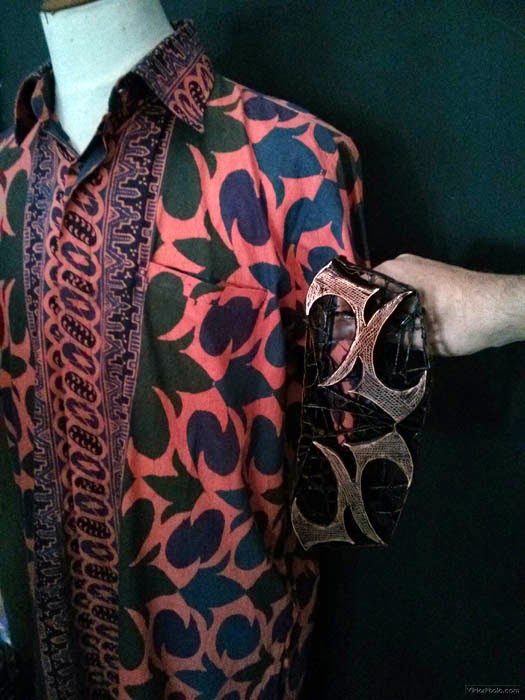 |
| A shirt and its matching stamp – The one the shirt was made with. |
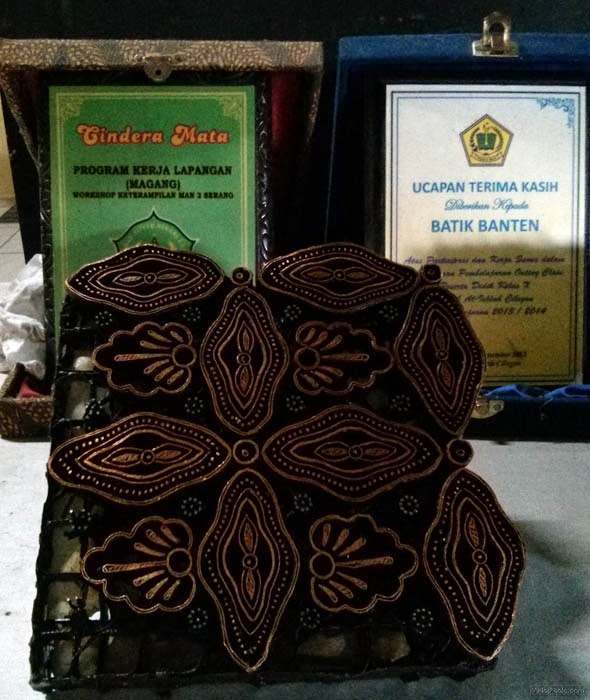 |
| Local design in the Banten area |
.jpg) |
| Local design in the Banten area |
 |
| Some “half-way” batik sheets drying in the yard of the workshop. |
… and a video, for those who have read all the above
In this short video, shot in a batik workshop, in Cirebon, West-Java, Indonesia, you can see the meticulous work put into each piece of hand made batik.